Is your deck looking worn-out, dull, or just not as inviting as it used to be? If so, you’re not alone. Many homeowners face the frustration of trying to stain a deck only to end up with patchy results or a finish that fades too quickly. The secret to a beautifully stained deck lies in one critical step: proper cleaning.
Dirt, mildew, and grime can prevent the stain from working its magic, but with the right preparation, you can transform your deck into a vibrant, long-lasting centerpiece of your outdoor space. In this guide, we’ll show you exactly how to clean your deck before staining so you can enjoy stunning results that last!
Step-by-Step Guide to Cleaning Your Deck
Cleaning your deck before staining is a straightforward process when you follow the right steps. Here’s a quick overview:
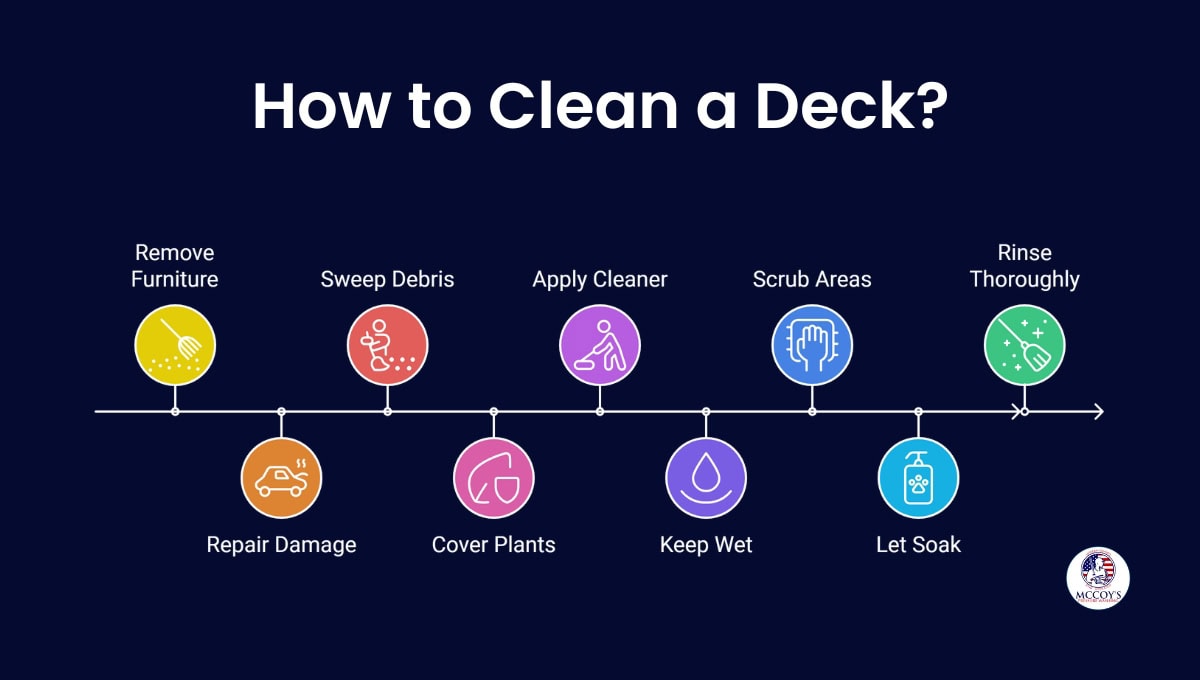
Step 1: Remove Furniture and Furnishings
Clear the deck of all furniture, potted plants, rugs, and decorative items. This prevents obstructions and makes cleaning the entire surface easier. Store items in a safe, dry place until the deck is fully stained and dried.
Step 2: Repair Any Damage
Inspect the deck for loose boards, protruding nails, or broken planks. Replace or repair damaged areas to ensure a safe and smooth surface. Hammer down any exposed nails and fill cracks with wood filler if needed.
Step 3: Sweep Debris Thoroughly
Use a sturdy broom to sweep away dirt, leaves, and loose debris. Pay attention to corners, between boards, and under railings where debris often accumulates. This step prevents dirt from mixing with the cleaner later on.
Step 4: Cover Plants and Siding
Protect surrounding plants, walls, and siding by covering them with plastic sheeting or tarps. This prevents damage from cleaning chemicals and water spray during the cleaning process.
Step 5: Apply a Deck Cleaner Evenly
Choose a high-quality wood deck cleaner designed to break down dirt, mold, and old stains. Use a garden sprayer or roller to apply the cleaner evenly across the entire deck. Follow the manufacturer’s instructions for the correct mixing ratio and application method.
Step 6: Keep the Deck Wet During the Process
Avoid letting the cleaner dry on the deck, as this can cause uneven cleaning results. Mist the deck with water occasionally to keep it damp and allow the cleaner to work effectively.
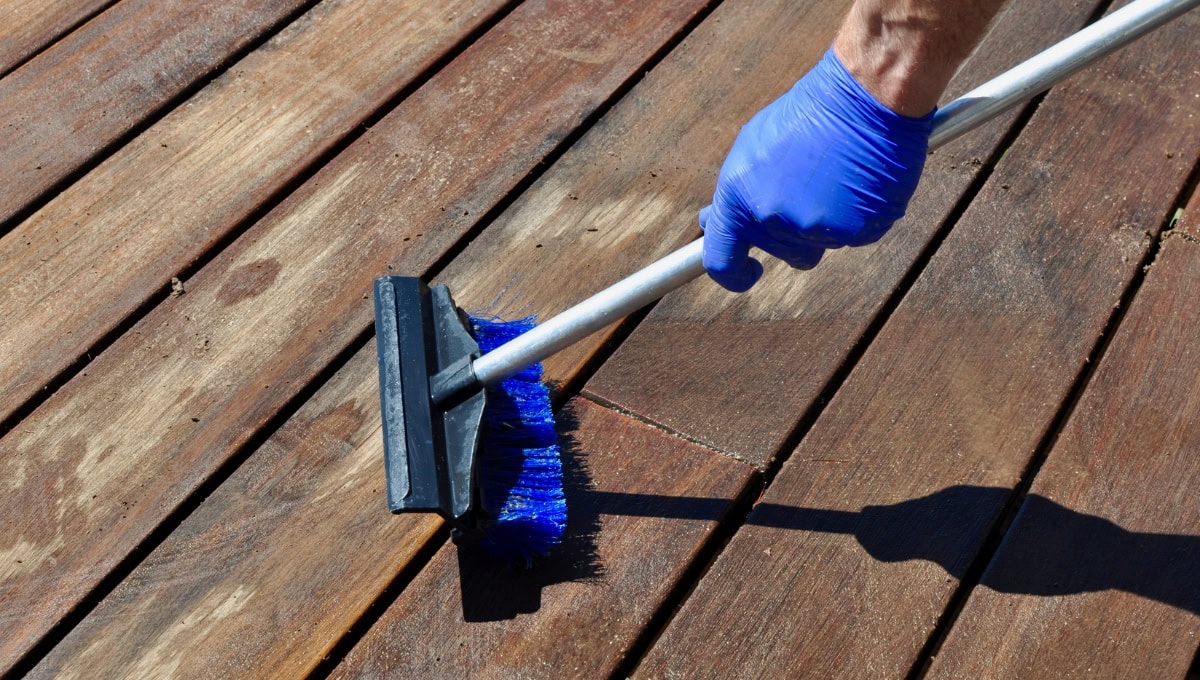
Step 7: Scrub Tough Areas
Use a stiff-bristled brush or a deck scrubbing tool to scrub stubborn stains, mold, and mildew. Focus on heavily soiled spots, railings, and high-traffic areas that tend to collect grime.
Step 8: Let the Cleaner Soak In
Allow the deck cleaner to soak into the wood for the recommended time specified by the product. This helps loosen embedded dirt, making rinsing easier and more effective.
Step 9: Rinse Thoroughly
Use a garden hose with a spray nozzle or a pressure washer on a low setting to rinse the deck thoroughly. Start from one end and work your way across the deck to avoid missing spots. Make sure all the cleaner is washed off.
Step 10: Wash Tools and Equipment
Clean all tools, brushes, and equipment immediately after use to prevent buildup and extend their lifespan. Rinse them thoroughly with water and let them dry before storing.
Step 11: Allow the Deck to Dry Completely
Let the deck air-dry for at least 24 to 48 hours, depending on the weather conditions. The wood must be completely dry before applying stain to ensure proper adhesion and a smooth, even finish.
For a more detailed guide, check out our comprehensive blog post: How to Clean a Deck. It’s packed with step-by-step instructions and expert tips to make the process seamless!
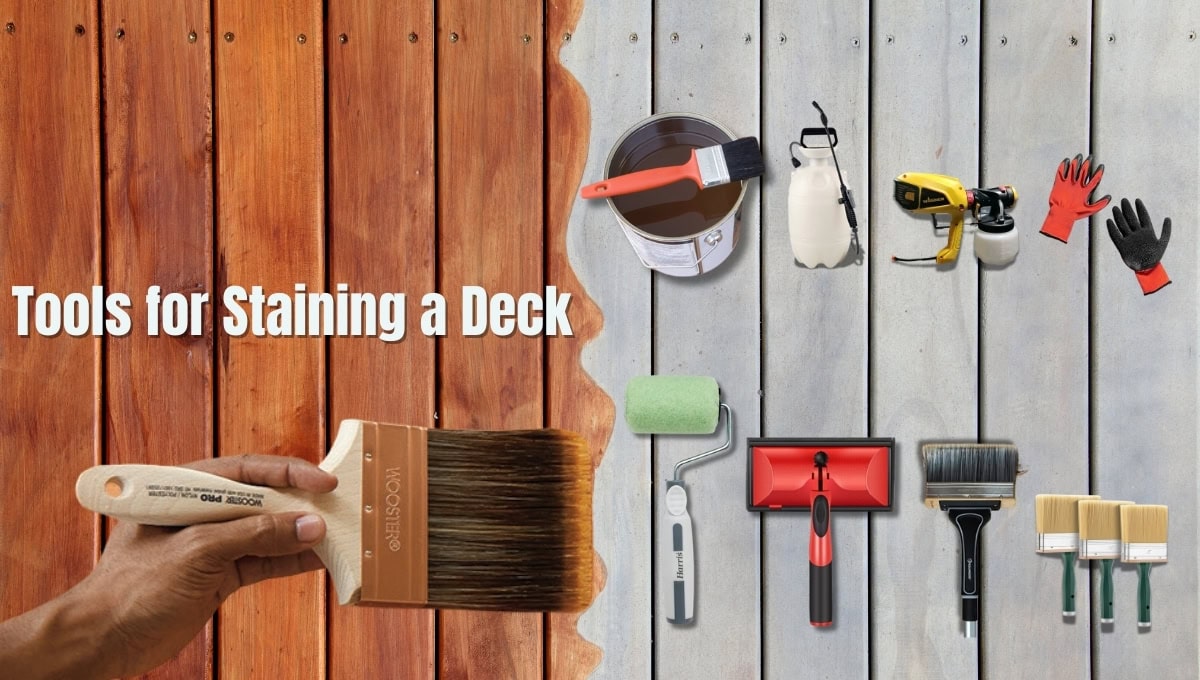
Tools and Materials
The right tools and materials for deck cleaning can make all the difference when preparing your deck. Using the wrong supplies can lead to frustration, wasted time, and less-than-perfect results. Here’s what you’ll need:
Tools Needed for Deck Cleaning
- Clear Plastic: Protect plants, furniture, and siding from cleaning solutions and debris.
- Broom: Sweep away dirt, leaves, and loose debris.
- Garden Hose: Rinse off cleaning solutions with a spray nozzle for precision.
- Pole or Power Sander: Smooth surfaces and remove old coatings for better stain absorption.
- Putty Knife: Remove debris stuck between deck boards.
Materials Needed for Deck Cleaning
- Deck Cleaner: Choose a high-quality product designed for wood decks to remove dirt, mildew, and old coatings effectively.
- Stain and Sealer: Protect your deck while enhancing its appearance with a product suited to your needs.
- 80-Grit Sandpaper: Smooth rough spots and stubborn residues to prepare the wood for staining.
Eco-Friendly Practices for Deck Cleaning
Cleaning your deck doesn’t have to come at the expense of the environment. By adopting eco-friendly practices, you can maintain your deck while protecting the planet.
Use Biodegradable Deck Cleaners
Choose deck cleaners labeled as biodegradable and free from harsh chemicals. These products break down naturally, minimizing harm to plants, animals, and waterways.
Minimize Water Usage
Conserve water by using a garden hose with a spray nozzle or a pressure washer set to low flow. Efficient rinsing techniques reduce waste while still achieving a clean surface.
Dispose of Waste Properly
Avoid letting debris, dirty water, or leftover cleaning products enter storm drains. Collect waste responsibly and follow local guidelines for proper disposal to prevent environmental contamination.
Common Mistakes to Avoid When Cleaning a Deck
Even small missteps can impact the quality of your staining project. Avoid these common mistakes for the best results:
Using Too Much Pressure
While pressure washers are effective for cleaning, using excessive pressure can damage your deck’s surface by gouging the wood or stripping it unevenly. Always use the lowest effective pressure setting and keep the nozzle at a safe distance from the wood to avoid damage.
Skipping Repairs Before Cleaning
Ignoring loose boards, protruding nails, or other damage before cleaning can make the process more difficult and potentially hazardous. Take the time to inspect and repair your deck before cleaning to ensure a safe and smooth surface for staining.
Not Allowing the Deck to Fully Dry
Rushing the staining process by not letting your deck dry completely is a recipe for disaster. Staining wet wood can lead to an uneven finish and prevent the stain from adhering properly. Depending on the weather, allow 24–48 hours for your deck to dry fully after cleaning.
How to Clean a Stained Deck Before Re-Staining
Preparing a previously stained deck requires extra care to maintain its integrity while ensuring the new stain adheres properly.
- Use a Mild Deck Cleaner – Opt for a gentle cleaner to remove dirt and grime without stripping the existing stain entirely.
- Lightly Sand the Surface – Sanding smooths out imperfections and helps the new stain bond evenly with the old layer.
For a detailed guide on re-staining, check out our blog post: Staining a Deck That Is Already Stained. It’s filled with tips to refresh and revitalize your deck like a pro!
Why Hire Professionals for Deck Cleaning and Staining
While DIY deck cleaning and staining can be rewarding, hiring professionals comes with distinct advantages that make the investment worthwhile.
Save Time and Effort
Professional services handle all the heavy lifting, from thorough cleaning to meticulous staining. This frees you up to focus on other priorities while enjoying flawless results.
Professional-Grade Tools and Materials
Experts use specialized tools and high-quality materials that aren’t always available to the average homeowner. It ensures a deeper clean, smoother application, and longer-lasting results.
Eco-Friendly Cleaning Methods
Reputable professionals, like McCoy’s Deck Staining and Pressure Washing, prioritize environmentally friendly products and techniques, giving you peace of mind that your project is safe for the planet.
Guaranteed Results
With years of experience, professionals deliver consistent and reliable results, backed by satisfaction guarantees. It eliminates the guesswork and ensures your deck looks its best for years to come.
Conclusion
Cleaning your deck isn’t just a task—it’s the first step toward revitalizing your outdoor space. Proper preparation ensures a flawless, long-lasting stain that enhances your deck’s natural beauty and protects it for years to come.
Whether you’re ready to tackle the project yourself or prefer the expertise of professionals, McCoy’s Deck Staining and Pressure Washing is here to help. We proudly serve homeowners in Brentwood, Murfreesboro, Nashville, Nolensville, Mount Juliet, and the surrounding areas. From deck cleaning and staining to complete restoration, we deliver expert results tailored to your needs.
Ready to bring your deck back to life? Contact us for professional, reliable services you’ll be proud of!
FAQs and Troubleshooting
What is the best time of year to clean and stain a deck?
The ideal time to clean and stain a deck is during late spring or early fall when temperatures are mild (50°F to 90°F) and humidity is low. Avoid rainy or overly hot days for best results.
Can I use household cleaning products to clean my deck?
It’s not recommended. Many household cleaners, especially ammonia-based ones, can damage wood, harm plants, or create toxic fumes if mixed with bleach. Instead, use a deck cleaner specifically designed for wood or composite materials for safe, effective results.
How can I tell If my deck cleaner is working properly?
A properly working deck cleaner will break down dirt, mildew, and stains, making them easy to scrub or rinse away. If the surface still appears dirty or grimy after use, you may need a stronger or more suitable product.
Do I need to sand my deck after cleaning?
Sanding is optional but recommended for decks with rough spots, splinters, or residual coatings. It creates a smooth surface and helps the stain adhere more evenly.
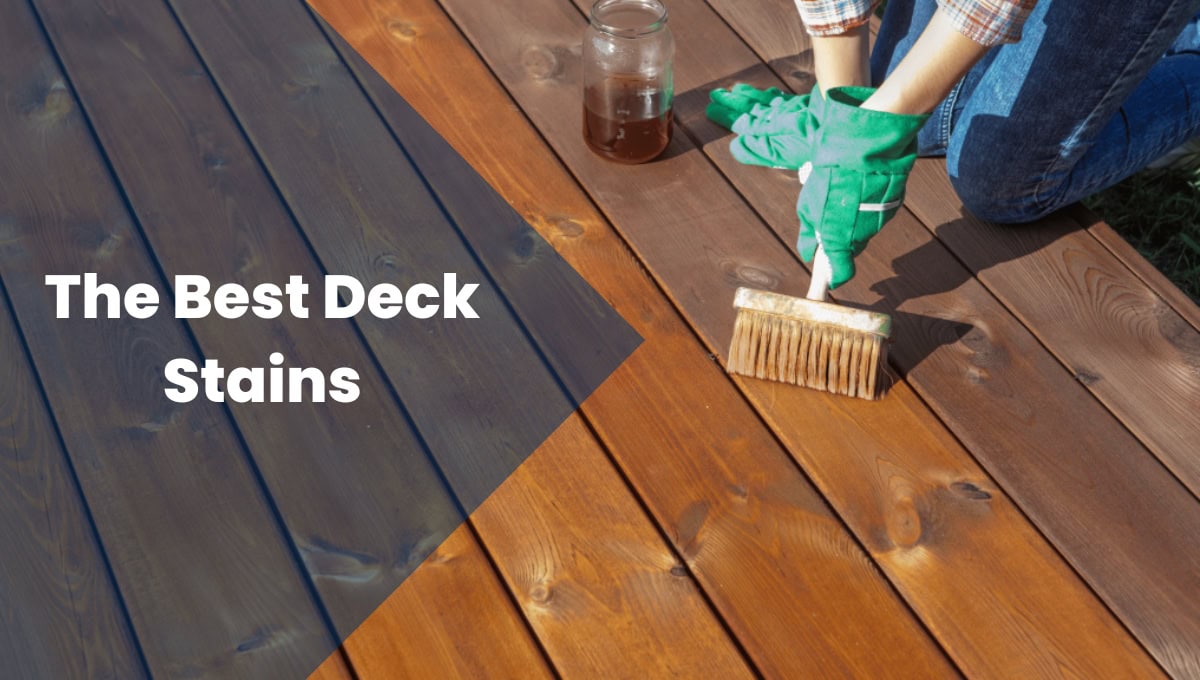
What type of stain works best after cleaning a deck?
Choose a high-quality stain based on your deck’s needs:
- Transparent Stains: Highlight natural wood grain.
- Semi-Transparent Stains: Provide color while showcasing wood texture.
- Solid Stains: Offer maximum coverage and protection.
What can I do If my deck Is turning gray?
Graying occurs due to sun exposure and weathering. Use a wood brightener or deck cleaner designed to restore the natural color of the wood, followed by staining to protect it.
How can I fix scratches on my deck?
For minor scratches, sanding the affected area lightly and applying matching stain should suffice. Deeper gouges may require filling with wood filler before staining.