Proper deck preparation is the key to achieving a stunning, long-lasting finish, and sanding is an essential step you can’t skip. While power washing and deck brighteners do a great job of removing dirt, grime, and stains, they can also raise the wood fibers, leaving your deck’s surface rough and prone to splinters. Sanding smooths out these imperfections, creating an even surface that allows the stain to penetrate deeply and adhere properly for a flawless finish.
Sanding a deck can be tricky without the right tools or experience. Avoid uneven surfaces and potential damage by letting our experts handle the job, ensuring your deck is perfectly prepped for staining.
Why Sand Your Deck Before Staining?
Sanding your deck before staining helps the stain last longer and look better. It opens up the wood’s pores, allowing the stain to absorb more evenly and deeply. This process also removes any lingering residue from previous coatings, ensuring a clean surface for better adhesion. Sanding prevents peeling, cracking, and premature wear, giving your deck a smooth, professional finish that stands up to the elements.
A common misconception is that sanding might damage your deck, but this isn’t true when proper techniques are used. Tools like oscillating or random orbit sanders are ideal for gently smoothing softwoods like cedar and redwood without gouging the surface. While pressure washing effectively removes dirt and grime, it doesn’t address deeper imperfections. By combining cleaning with sanding, you’ll ensure your deck is polished, stain-ready, and prepared to resist wear for years to come.
Preparing Your Deck for Sanding
Proper preparation is the foundation of a successful deck sanding and staining project. Following these recommendations ensures the best results for both aged and newer wood.
For Aged Wood:
- Use a Chemical Brightener or Cleaner: Restore the wood’s natural color and remove stains caused by weathering or tannins.
- Rinse Thoroughly: Eliminate all residue to create a clean surface ready for sanding.
- Let the Deck Dry Completely: Ensure the wood is fully dry, as sanding damp wood can clog sandpaper and cause uneven results.
For Newer Wood:
- Sanding Alone May Suffice: In most cases, you can proceed directly to sanding. Always check the manufacturer’s guidelines for specific instructions.
When sanding, treat each area of your deck individually. The surface, railings, and board edges require different techniques to achieve a consistent, polished finish. Proper preparation ensures your deck is smooth, clean, and perfectly prepped for staining.
Step-by-Step Sanding Process
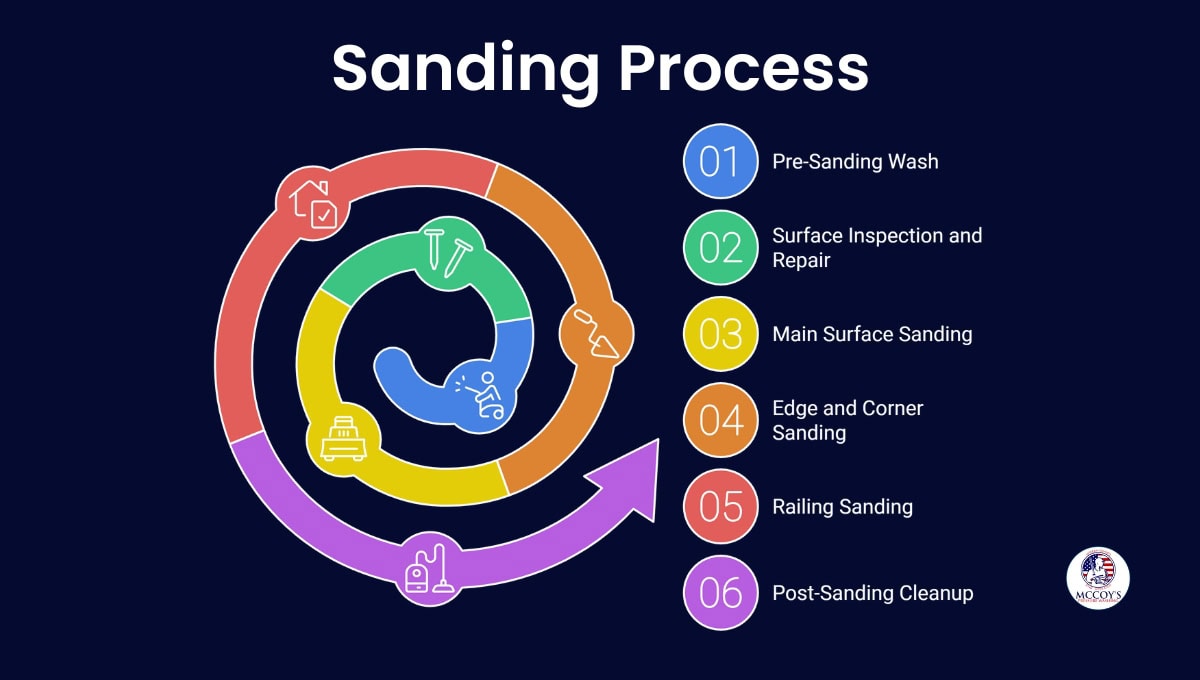
Follow these professional steps to prepare your deck for the best results:
Step 1: Pre-Sanding Wash
- Begin by thoroughly cleaning your deck with a pressure washer or deck cleaner.
- Use a high-quality, eco-friendly cleaner to remove dirt, mold, mildew, and stubborn stains.
- Avoid excessive water pressure that can gouge softwoods. Maintain a nozzle distance of at least 6–12 inches.
- Allow the deck to dry completely for 48–72 hours before sanding. Damp wood can clog sandpaper and lead to uneven sanding.
Step 2: Surface Inspection and Repair
- Carefully examine the entire deck for issues:
- Loose Boards: Tighten screws or use deck fasteners to secure them.
- Protruding Nails: Hammer nails flush with the surface to prevent damage to sanding tools.
- Cracks or Splinters: Replace damaged boards to ensure structural integrity and an even finish.
These repairs prevent safety hazards and ensure the sanding process is smooth and consistent.
Step 3: Main Surface Sanding
- Use an oscillating or random orbit sander for large, flat areas. These tools are less likely to gouge softwoods like cedar or redwood.
- Start with 80-grit sandpaper to remove old coatings, rough patches, and raised fibers.
- Switch to 120-grit sandpaper for the final pass to achieve a smooth, even finish.
- Always move the sander in the direction of the wood grain to avoid scratches and uneven sanding.
Step 4: Edge and Corner Sanding
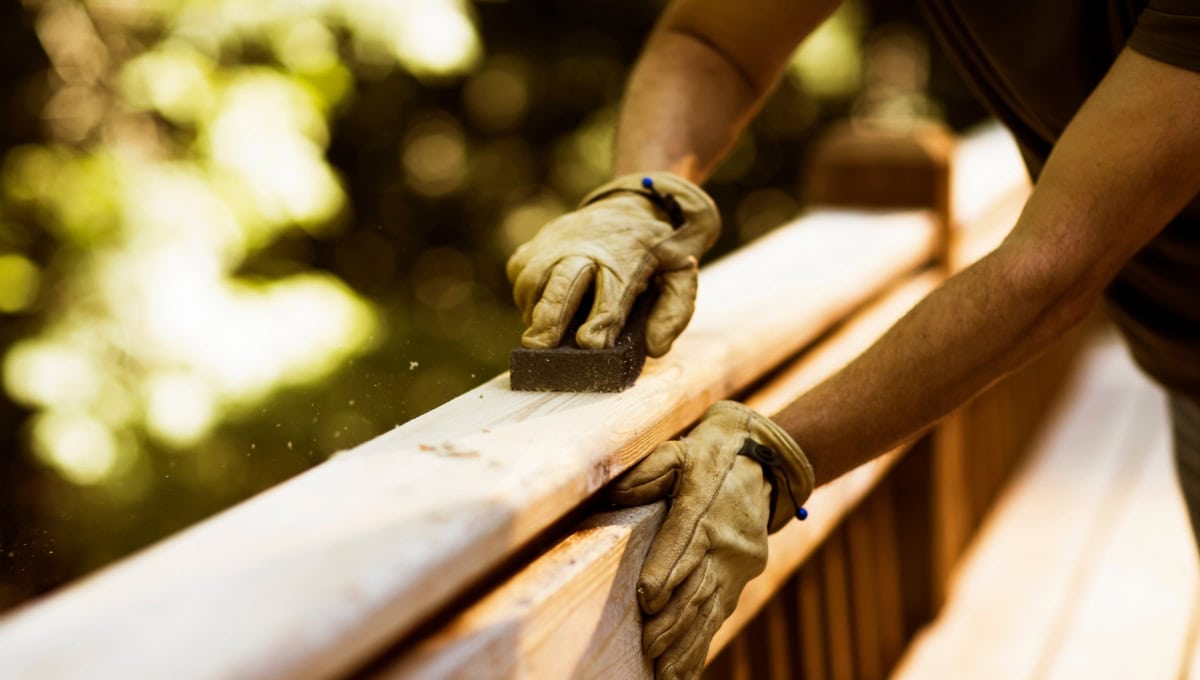
- Use a hand sander or sanding sponge for edges and tight corners where larger sanders cannot reach.
- Work methodically to ensure these areas are as smooth as the main surface, avoiding sharp edges or rough patches.
- For gaps between boards, use a putty knife or a small sanding block to remove debris and sand lightly.
Step 5: Railing Sanding
- Sand railings, balusters, and spindles using a hand sander or sponge to eliminate splinters and rough areas.
- Focus on achieving a smooth, splinter-free surface that feels comfortable to the touch.
- Pay extra attention to high-contact areas, as a polished finish improves both appearance and functionality.
Step 6: Post-Sanding Cleanup
- Use a shop vacuum or leaf blower to remove sanding dust from all surfaces, including gaps and corners.
- Follow with a tack cloth to wipe down the surface, ensuring it’s completely clean and ready for stain application.
- Proper cleanup is critical to achieving smooth, even stain adhesion and a professional-quality finish.
Tools and Materials You Will Need
Sanding a deck before staining is a straightforward yet essential process that requires the right tools, materials, and safety measures.
Essential Tools
- Oscillating or Random Orbit Sander: Ideal for large, flat areas, these tools gently smooth the surface without gouging softwoods.
- Hand Sander or Sanding Sponge: Perfect for railings, edges, and tight corners that larger sanders can’t reach.
- Vacuum or Leaf Blower: Helps remove fine dust and debris, leaving the surface clean and ready for staining.
- Putty Knife: Useful for clearing debris from gaps between boards or removing old, stuck-on material.
Necessary Materials
- Sandpaper: Use 80-grit for rough sanding or removing old stains and 120-grit for a smoother, finishing touch.
- Deck Brightener or Cleaner: Recommended for aged wood with gray weathering or tannin stains. Rinse thoroughly after application.
- Broom or Brush: Essential for clearing larger debris during and after sanding.
- Tack Cloths: Ideal for wiping down the deck after vacuuming to ensure a dust-free surface for staining.
- Eco-Friendly Stains: Choose stains that provide long-lasting protection while being environmentally safe.
Safety Considerations
Sanding requires careful attention to safety to ensure an efficient and hazard-free process:
- Protective Gear: Always wear a dust mask, safety glasses, and gloves to shield yourself from wood dust and debris.
- Ventilation: Sand outdoors or in a well-ventilated area to minimize exposure to airborne particles.
- Comfort Equipment: Use knee pads and hearing protectors to reduce strain, especially when working on large decks.
Stain Your Deck for Long-Lasting Protection
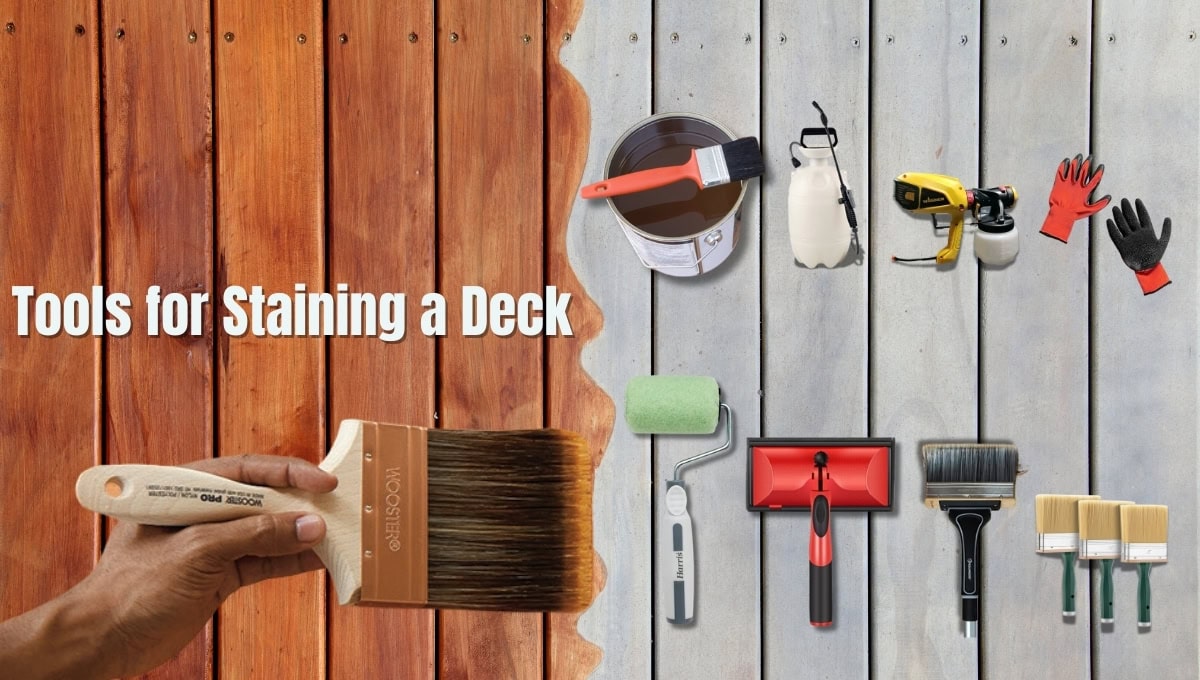
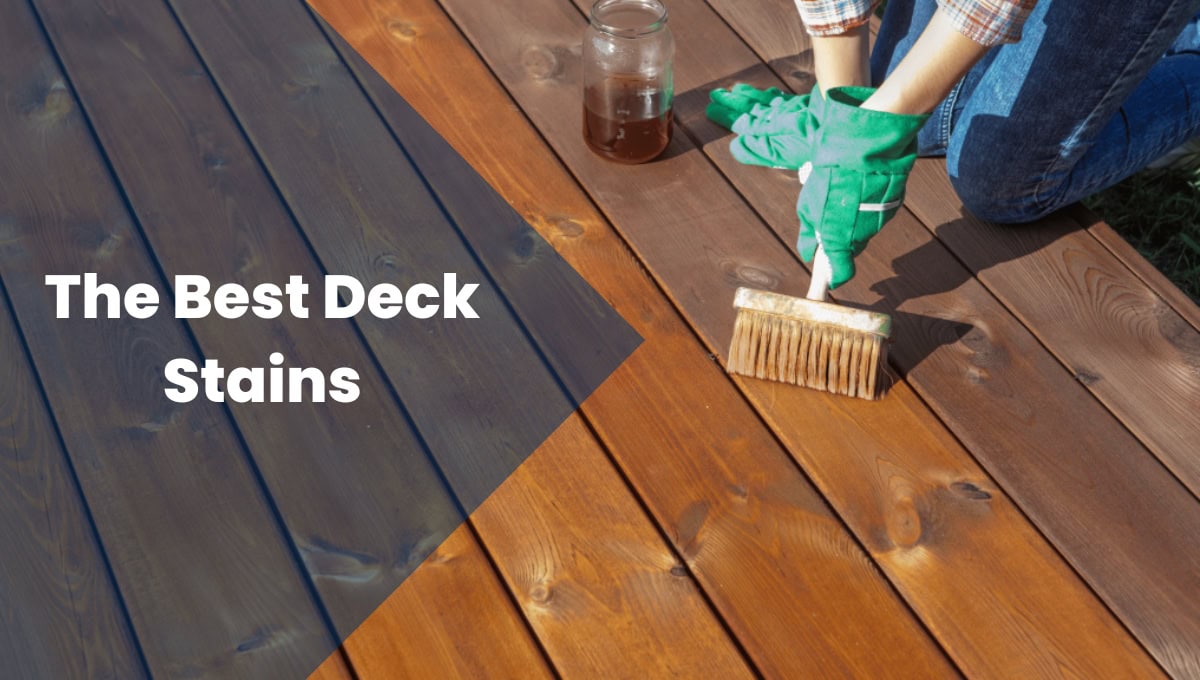
After sanding your deck, staining is the next crucial step to enhance its appearance and protect it from weather damage. Choosing the right stain—whether transparent, semi-transparent, or solid—depends on your desired look and protection level. Apply the stain evenly with a brush, roller, or sprayer, following the wood grain for a smooth finish. Be sure the deck is dry, dust-free, and properly prepped before staining to achieve a smooth, long-lasting finish.
For more tips and expert techniques, we’ve put together a detailed guide on how to stain a deck that will help you achieve professional results with confidence.
Maintaining Your Deck After Staining
A well-stained deck adds beauty and value to your outdoor space, but regular maintenance is key to preserving its appearance and durability. Sweep away dirt and debris frequently to prevent moisture buildup, and clean the surface gently using a mild deck cleaner. Conduct annual inspections for peeling stains, loose boards, or splinters, fixing issues early to avoid costly repairs. Seasonal care, such as spring cleaning, summer shading, fall leaf removal, and winter protection from snow and ice, ensures your deck stays strong and visually appealing throughout the year.
Why Choose McCoy’s for Your Deck Restoration?
When it comes to deck restoration, McCoy’s Deck Staining and Pressure Washing is the trusted choice for homeowners in Brentwood, Murfreesboro, Nashville, Nolensville, Mount Juliet, and surrounding areas. With a 5.0 customer rating and glowing testimonials, we’ve built a reputation for delivering stunning results and exceptional service tailored to your needs.
What Sets McCoy’s Apart?
Top-Rated Customer Satisfaction
Our professionalism, attention to detail, and consistent results have earned us a perfect 5.0 rating. Homeowners trust us to exceed expectations on every project.
Veteran-Owned and Operated
As a veteran-owned business, we bring discipline, dedication, and integrity to every job. We take pride in serving our community with the same values that guided us in the military.
Eco-Conscious Practices
We prioritize eco-friendly solutions that are safe for your family, pets, and the environment. From biodegradable cleaning products to sustainable techniques, we ensure your deck restoration is beautiful and responsible.
Comprehensive Services
McCoy’s offers full-service deck care, including sanding, cleaning, staining, and sealing. Whether you need a quick refresh or a complete restoration, our expert team delivers long-lasting beauty and durability.
Let the Experts Handle It
DIY projects can be rewarding, but professional services guarantee optimal results with less effort and stress. We specialize in transforming decks through expert techniques and eco-conscious practices. With our top-rated team, you’ll enjoy the peace of mind that comes from a job done right.
Contact us today for professional deck restoration services in Brentwood, Murfreesboro, Nashville, Nolensville, Mount Juliet, and surrounding areas. Let us help make your deck the highlight of your outdoor space!
FAQs on Sand Deck Before Staining
How to refinish a deck that has been stained?
Clean the deck thoroughly, sand the surface to remove the old stain and smooth out imperfections, then apply a fresh coat of stain for a renewed look.
Is it safe to sand a deck?
Yes, sanding a deck is safe when done correctly. Use the right tools, wear protective gear, and sand evenly to avoid damaging the wood.
Can you sand a deck in any weather conditions?
No, sanding a deck is best done in dry weather with low humidity. Avoid sanding when it’s wet, rainy, or extremely hot, as moisture and heat can affect the wood’s condition and sanding efficiency.
How long should you wait to stain a deck after sanding?
Wait 24–48 hours before staining to allow the deck to fully dry. This ensures the stain adheres properly and provides a smooth, even finish.
How often should you resand and restain your deck?
Resand and restain your deck every 2-3 years, depending on weather exposure, foot traffic, and the type of stain used. Regular maintenance and inspections can help extend the time between refinishing projects.
Does the type of wood affect how you should sand your deck?
Yes, the type of wood affects how you should sand your deck. Softer woods like cedar and pine require lighter sanding to avoid damage, while harder woods like oak or mahogany can handle more aggressive sanding. Always choose the appropriate grit sandpaper based on the wood’s hardness.

